How do you prepare the installation of a new till without disrupting your business?
A till installation is rarely decided on the day itself: it is decided in the weeks beforehand. Surveying the premises, electrics, network, positioning of the stations, preparing the catalogue, dry runs and staff training form a sequence that can take place without interrupting business. This guide describes this preparation step by step, from the initial site survey to the days following go-live.
In this guide
Installation day is often seen as the critical moment of a till project. In fact, it's more of a revealer: it highlights what has been prepared and what hasn't. A missing outlet, an incomplete catalog, or a team discovering the tool for the first time turn a simple operation into a complicated day.
The good news is that most of this preparation can be done while the business keeps running normally. Scoping, configuration and testing don't require stopping activity. Only the switchover itself needs a time slot, and that slot can be short if it has been prepared.
This guide describes the complete sequence, in the order it unfolds. It is aimed both at a business equipping itself for the first time and at a business replacing an existing system, since the constraints are similar in both cases.
Surveying the premises: the first concrete step
First and foremost, you need to look at where the till is going to live. This assessment seems obvious, but it is frequently glossed over, even though it conditions most last-minute adjustments.
Three groups of points should be checked. First, thepower supply the number of outlets actually available near the counter, whether a power strip is already at capacity, the ability to route cables neatly without them crossing a walkway. Then the network the position of the router, whether or not there is a wired connection near the terminal, the quality of wireless coverage in the areas concerned, including the dining room, stockroom, or terrace. Finally the physical constraints counter depth, available height, proximity to a water source, exposure to heat, humidity, or dust.
This assessment should be done under real conditions of use, with the counter busy and the workstation set up, not in an empty space. A spot that seems comfortable in the morning can become unusable during the rush.
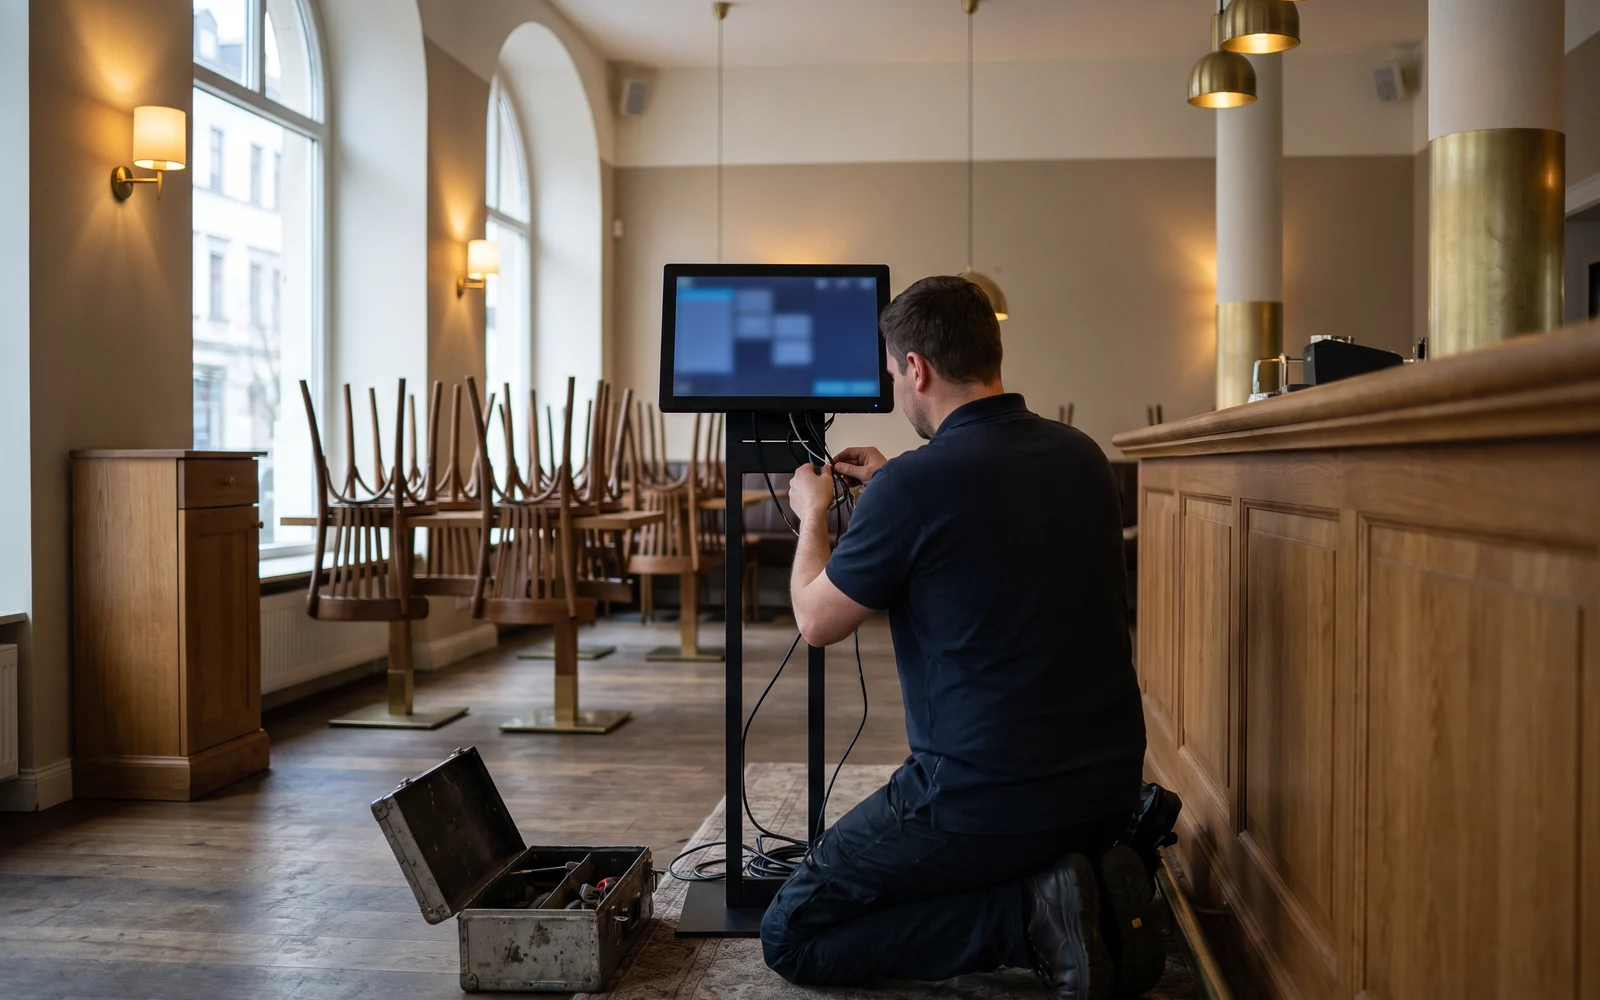
A site survey carried out beforehand makes it possible to order in time whatever needs ordering: an extra power socket, cable runs, furniture adjustments. These small jobs are quick if anticipated, and can bring things to a halt if discovered on installation day.
Where to place the terminals and peripherals
The location of a checkout point is decided based on the movement of people, not on available space. The right test is to mentally follow a customer from their entrance to their exit, then to follow the staff member checking them out.
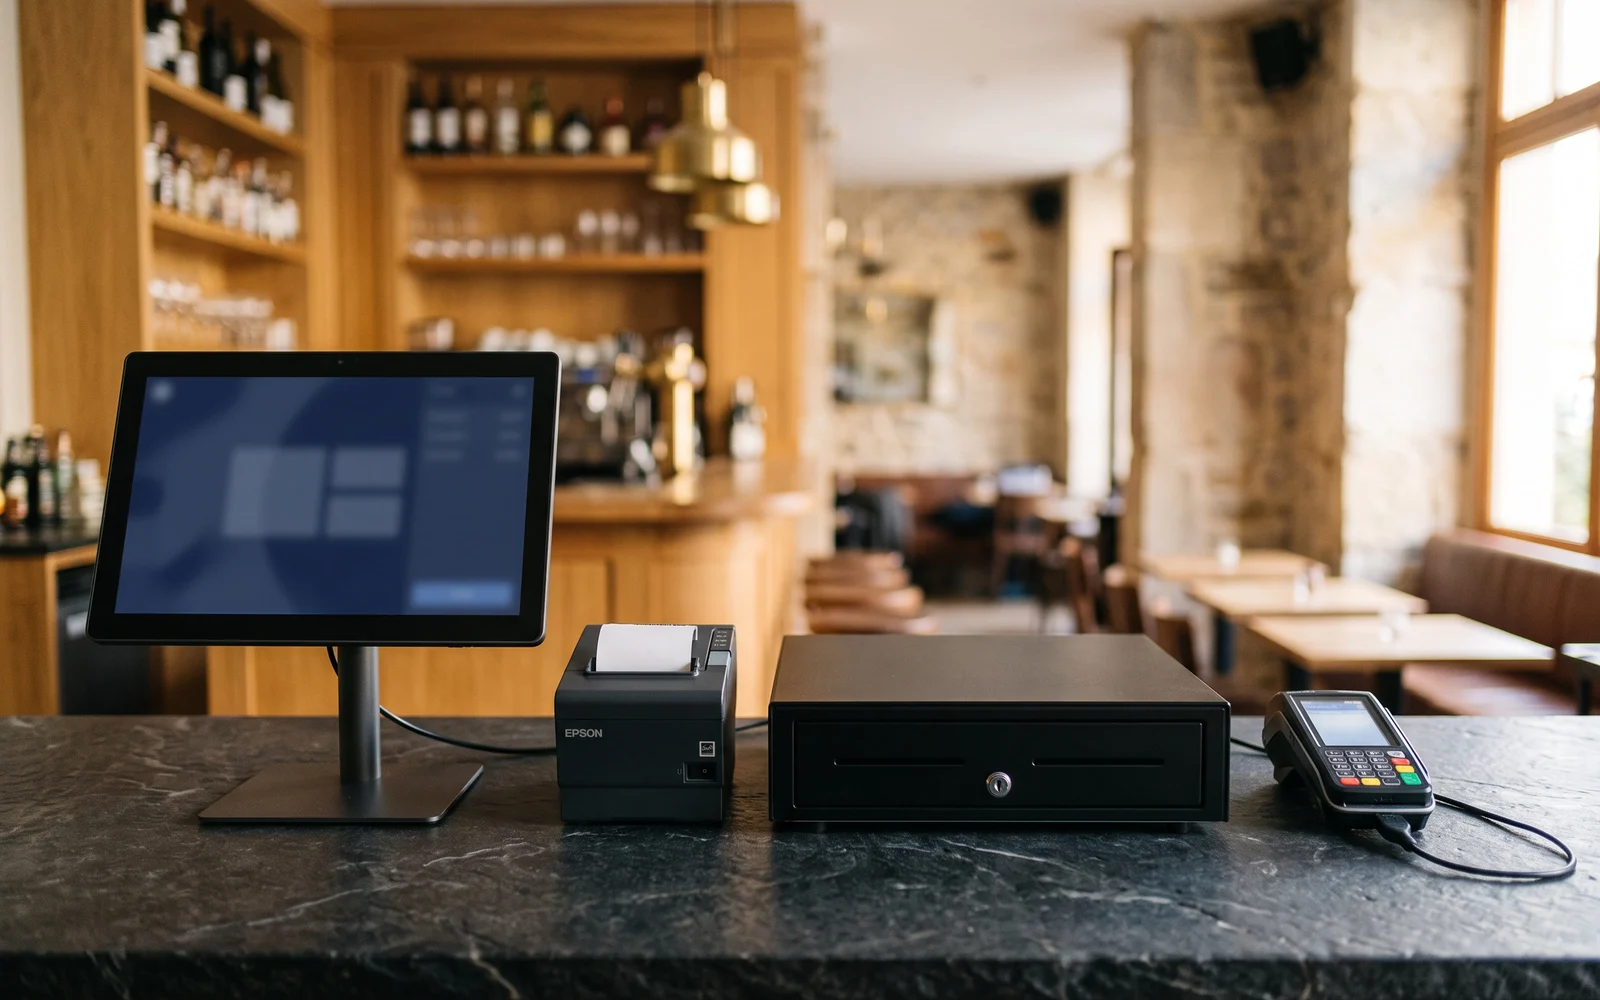
A few principles come up often. The station must allow you to see the queue or the dining room while handling checkout. The receipt printer must be accessible without turning aroundThe payment terminal must be facing the customeror carried over to it depending on the service style. The cash drawer must be able to open without hitting a piece of furniture. A barcode scanner must be placed on the side where items arrive, which depends on the flow of movement.
When several stations coexist, quiet periods also need to be considered: a station that's useful at midday may go unused in the afternoon, and it must then get in the way of neither foot traffic nor service. These trade-offs are best made on site, with the team, rather than in a remote discussion.
Preparing the catalog and configuration
This is the longest step, and the one most often underestimated. It can take place entirely beforehand, with no impact on business activity.
The work focuses first on the list of items clear labels that the whole team can understand, removal of items that no longer sell, handling of duplicates, management of variants where they exist. An ambiguous label costs you at every entry afterwards.
It then concerns theorganization into categoriesCategories are used to find an item quickly and to read its figures afterwards. An organization that reflects the way the team talks about the products is more effective than a theoretical classification. This is also where the applicable rates for each product: determining them depends on your situation and your obligations, and deserves to be validated with your accountant before being entered.
Finally come the usage settings accepted payment methods, users and associated permissions, information printed on the receipt, end-of-day procedures. These settings may seem secondary; yet they are what makes the tool comfortable or tedious to use day to day.
Applicable obligations may change. Check the rules that apply to your situation with the relevant authorities.
Dry runs, switchover, and the following days
Once the setup is ready, going live unfolds in a few distinct stages.
Dry runs, outside of service
Enter real-life situations into the new system, outside of opening hours: a simple sale, a multi-item sale, a split payment, a return, a discount, a cancellation. It's these particular cases that reveal gaps in the configuration.
Ease of handling for the team
Have each person concerned practice before going live, on the actual actions they will perform. Discovering issues in advance is better than learning them in front of a waiting customer.
Choice of the switchover time slot
Favour a quiet moment, outside peak commercial periods and stocktaking periods. A low-traffic day leaves room to adjust whatever needs adjusting.
A safety net on the day
Plan how to keep taking payments in the event of the unexpected, and check who to contact during opening hours. If an old system exists, keep read-only access to it for as long as needed.
The following days
Note down, as they happen, the actions that get stuck and the items that cannot be found, then deal with them all at once. The adjustments of the first few days are part of the normal process; they do not indicate a wrong choice.
Mistakes to avoid
- Install on a day of high activity. This is the moment when there is the least time available to learn and correct mistakes.
- Preparing the catalog at the last moment. This is the longest task; it must start early.
- Only testing simple sales. The hold-ups come from special cases: credit notes, split bills, takeaway sales, exceptional discounts.
- Train only one person. A single point of contact quickly becomes a bottleneck when they're unavailable.
- Neglecting cable management. Improvised cabling turns into an intermittent fault a few weeks later.
Next step
Before the installation date, gather three things: a simple floor plan of the premises showing outlets and the network connection, the list of your items and categories, and your team's availability for training. These three documents are enough to prepare a smooth commissioning.
OG Solutions handles these steps, from the site survey to commissioning, with services ofinstallation and of training suited to how the business operates.
Key takeaway
- Most of the preparation for an installation is done beforehand, without interrupting the business's activity.
- Surveying the electrical setup, the network, and the constraints of the premises avoids most of the hold-ups on the big day.
- The location of the tills is decided based on the flow of customers and staff, not on available space.
- Preparing the catalog and categories is the longest step: it must start well before the installation date.
- Dry-run tests covering special cases and getting familiar with the system in advance significantly reduce incidents in the first few days.